How to Switch Web Hosting Providers Safely, Step by Step
A safe step-by-step plan for changing hosting providers: inventory your site, copy files and email, test before DNS changes, lower TTL and avoid downtime.
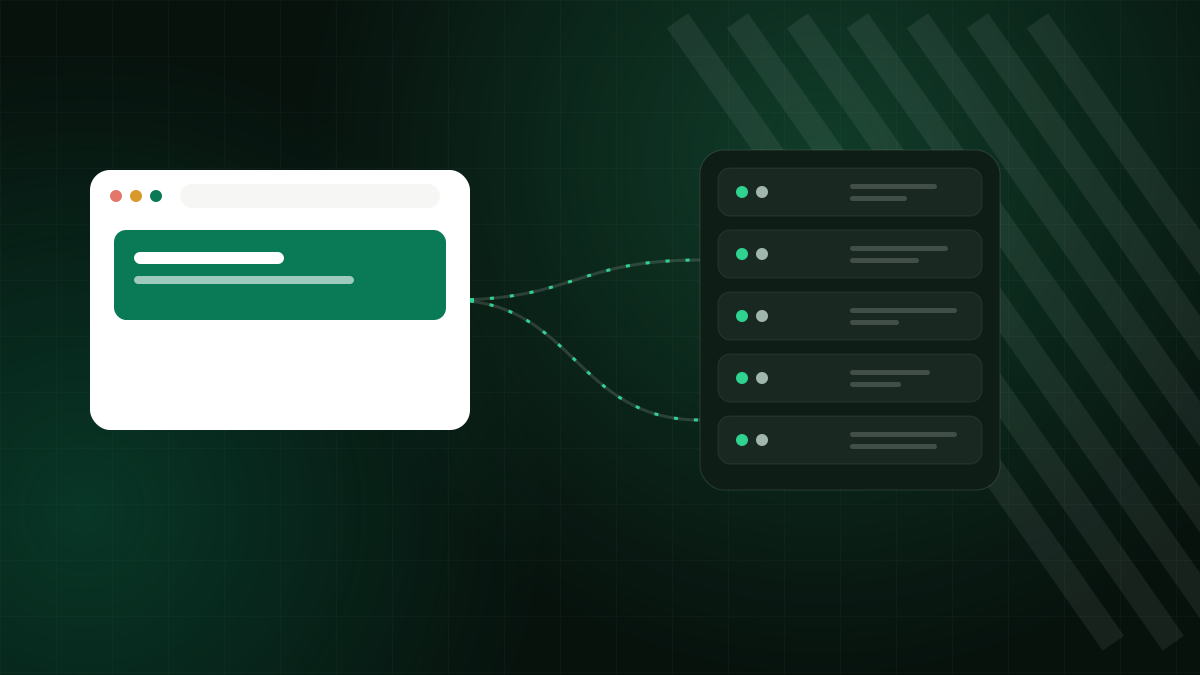
Switching hosts has a reputation for being risky, and it can be when it is done in a hurry. Done in the right order, it is a routine job: you build a complete copy of your site on the new server, test it, and only then point your domain to it. Visitors never see a broken page, and you keep the old hosting as a safety net. This is the sequence that keeps things safe.
Before you start: make an inventory
List everything that runs on the old account, because the things people forget are what cause outages:
- All domains, subdomains and parked domains
- Websites, their platforms and PHP versions
- Databases and their users
- Email accounts, aliases, forwards and autoresponders
- Cron jobs (scheduled tasks)
- DNS records, especially MX, TXT (SPF, DKIM, DMARC) and any third-party verification records
- SSL certificates and redirects
- Third-party services that depend on the server IP, such as payment callbacks, API allow-lists or firewalls
Export a copy of the DNS zone, or take screenshots, before you change anything.
Step 1: Choose the new plan and keep the old one
Pick a plan that fits your site, then do not cancel the old hosting until the migration is verified. Overlapping for a month or a billing cycle costs little compared with the risk of an outage. Check the old plan's renewal date so it does not lapse by accident, or so you can cancel before the next charge.
Step 2: Copy everything to the new server
For a typical site, this means files, the database, email and settings. Many hosts, including us, will do this for you; see our free migration service. If you are doing it yourself:
- Download or transfer the site files via SFTP or the panel's migration tool.
- Export the database and import it on the new server.
- Update configuration, such as database credentials in
wp-config.phpfor WordPress. - Recreate email accounts, then copy existing messages with an IMAP sync tool.
- Recreate cron jobs and PHP settings.
WordPress sites have their own specifics, covered in our guide to WordPress migration.
Step 3: Test before changing DNS
You can view the new copy without touching live DNS by editing your computer's hosts file so that your domain points to the new server's IP address on your machine only. Then browse the site, submit forms, log in to the admin area, place a test order, send and receive email, and check HTTPS. Fix problems while the real visitors are still on the old server.
Step 4: Prepare DNS
A day or two before the switch, lower the TTL (time to live) on your DNS records to a short value such as 300 seconds. This makes the change spread quickly when you flip it. Make sure the new host has a matching set of DNS records, including all email records, so nothing disappears in the transition.
Nameservers or A records?
You can either change your domain's nameservers to the new host, or keep your current DNS provider and only edit the A record (and others) to the new IP. Both work; the choice depends on where you want DNS managed. Our guide on pointing a domain to hosting explains both.
Step 5: Switch, then watch
- Freeze content changes on the old site for the cut-over period, or put shops and forums into read-only mode, so orders and comments are not split between servers.
- Update the DNS records to the new server.
- Check the site from several networks and a mobile connection.
- Watch both servers' logs for a few days; some visitors will still reach the old server until caches expire.
- Re-check email delivery in both directions.
Step 6: Clean up
When traffic to the old server has stopped and everything works for at least a few days, take a final full backup from the old account and store it safely. Then cancel the old plan. Raise the TTL back to a normal value, confirm that SSL renews automatically on the new server, and update any service that was locked to the old IP address.
Mistakes to avoid
- Cancelling the old hosting before DNS has fully propagated.
- Forgetting the email, so messages arrive on the old server and are never read.
- Leaving out the SPF/DKIM records, causing outgoing mail to land in spam.
- Migrating on your busiest day.
How long should a migration take?
For a small site, copying and testing can be done in an afternoon, and the DNS switch takes effect within minutes to hours, depending on TTL values. Larger sites, shops with ongoing orders and mailboxes with years of messages deserve more planning: allow a few days and agree a quiet time for the cut-over. Email needs special care because messages can arrive at either server during the transition, so keep checking the old mailbox until you are sure DNS has fully moved. Be realistic rather than optimistic, and keep a rollback option, which is simply pointing DNS back to the old server while it still exists.
Let us do it for you
If you would rather not handle this yourself, Zebra Hosting's team moves your site, databases and email for free and agrees the cut-over timing with you. Start from the migration page and tell us what you run.